flutter中如何实现Apple登录
全栈老韩
全栈工程师,擅长iOS App开发、前端(vue、react、nuxt、小程序&Taro)开发、Flutter、React Native、后端(midwayjs、golang、express、koa)开发、docker容器、seo优化等。
一、现有的Apple登录第三方库
众所周知,当你想要快速实现某一个功能的时候,最快的方法还是要看一下有没有便捷的第三方库,可以极大的提高效率,而flutter第三方库查找的地方就在:https://pub.dev/,这个是flutter官方支持库网址。
目前来说,flutter的生态已经非常完善,而且支持的平台也很多,所以大多数项目所需的功能,都是可以找到现成的库来解决的。
对于苹果的授权登录,最流行的库当属:sign_in_with_apple,连接是:https://pub.dev/packages/sign_in_with_apple,这个库是aboutyou团队开发和维护的库。
二、集成Apple login
- 在flutter的pubspec.yaml中手动引入,或者通过命令引入:
- 手动引入:
pubspec.yaml
sign_in_with_apple: ^6.1.0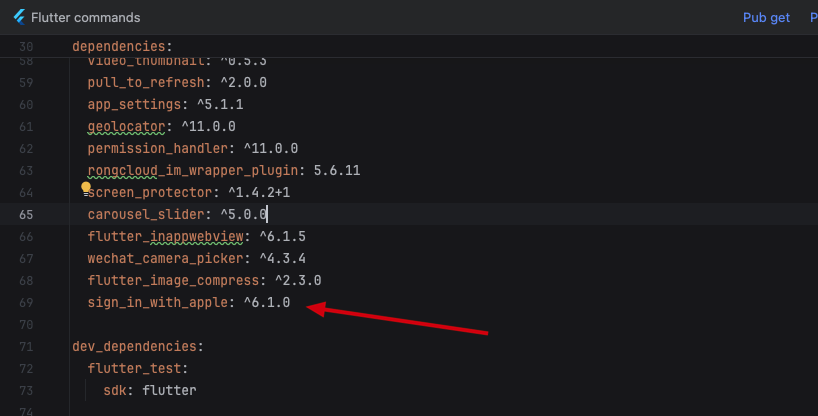
- 终端命令集成
terminal
flutter pub add sign_in_with_apple - 自定义你的登录按钮,点击事件中添加以下代码:
dart
import 'package:sign_in_with_apple/sign_in_with_apple.dart';

class LoginPage extends StatefulWidget {
  const LoginPage({super.key});

  @override
  State<LoginPage> createState() => _LoginPageState();
}

class _LoginPageState extends State<LoginPage> {
  ...

  /// Apple 登录,解析这个credential
  void login(AuthorizationCredentialAppleID appleID) async {
    BaseViewModel.showLoadingDialog();
    DefaultRepository repository = DefaultRepository();
    var result = await repository.loginApple(
        appleID.authorizationCode, appleID.identityToken ?? "", appleID.userIdentifier ?? "");
    await BaseViewModel.hideLoadingDialog();
    if (result.isSucc) {
      handleLoginResult(result);
    }
  }

  ...
  // 登录按钮
  GestureDetector(
              onTap: () async {
                final credential = await SignInWithApple.getAppleIDCredential(
                  scopes: [
                    AppleIDAuthorizationScopes.email,
                    AppleIDAuthorizationScopes.fullName,
                  ],
                );
                login(credential);
              },
              child: Container(
                decoration: const BoxDecoration(
                  color: Colours.btnEnableColor,
                  borderRadius: BorderRadius.all(Radius.circular(28)),
                ),
                constraints: BoxConstraints.expand(width: sWidth - 64, height: 56),
                child: const Center(
                  child: Text("Continue with Apple", style: TextStyle(
                    color: Colors.black,
                    fontFamily: 'SF',
                    fontWeight: FontWeight.w700,
                  ),),
                ),
              ),
            )
  ...
}- 将苹果登录获取到的credential通过接口,发送给后端服务器去调用Apple服务。
- Apple开发者账号的证书中心网站中,需要配置开发证书和发布证书支持Sign In with Apple的功能。这个直接打开证书配置中心网站操作即可:https://developer.apple.com/account/resources/
- 如果想要同时支持flutter打出web、Android的包,那么需要这个证书中心配置service id,这个id用来做clientid。这个在我之前的uni-app项目中有提到,可以参考:https://www.xinwei.ltd/article/123
- 在证书中心需要配置一个key,配置key的操作,也可以参考我之前的文章:https://www.xinwei.ltd/article/123,key创建成功后,需要下载下来给后端,后端服务需要用到这个文件。
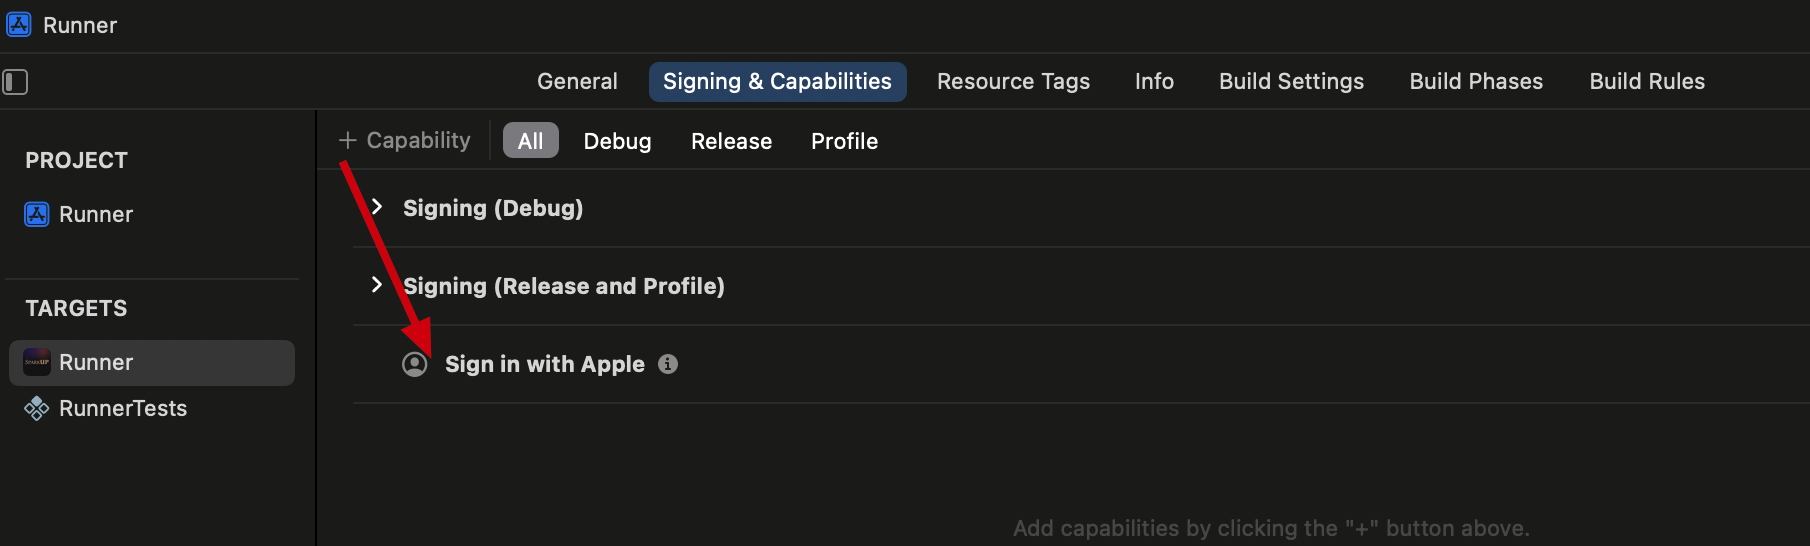
- 使用Xcode打开flutter中的iOS工程,选中Runner的target,添加Sign In with Apple功能。
8.完整的代码就是上面贴出来的代码,步骤也很简单,集成进去,然后测试,一切应该都OK的。
到此就结束了,祝集成顺利。
发布于2024-11-09 09:53:38
浏览量2511·
暂无评论,快来发表第一条评论吧